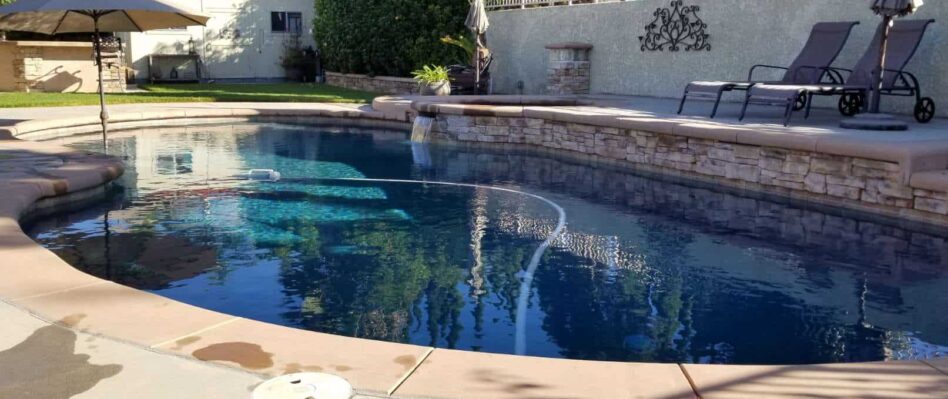
It’s that time of year again: The weather is getting warmer, and you can finally break out the swimsuits and pool toys. Before you can actually enjoy your pool, you need to make sure it’s clean. A dirty pool is not only unsightly, it can be unhealthy. Bacteria and other contaminants can quickly build up, making your pool a breeding ground for disease.
Fortunately, cleaning a dirty above-ground pool isn’t as difficult as it may seem, especially with an automatic pool vacuum. With a little elbow grease and the right tools, you can have your pool sparkling clean in no time.
In this blog post, we’ll walk you through everything you need to know about cleaning a dirty above-ground pool.
What You’ll Need and How to Do It
Before you start cleaning your pool, it’s important to gather all the supplies you’ll need. Here is a list of items that should do the trick:
- Garden hose with a detachable nozzle
- Brush with an extendable handle
- Skimmer net
- Scrub brush
- Chlorine tablets
- Pool shock
- Water test strips
Once you have these tools and materials ready, follow the steps below.
Step 1: Remove Debris
The first step in cleaning your pool is to remove any large debris that has accumulated, including leaves, sticks, and anything else that doesn’t belong in or around the pool. Use your skimmer net to scoop any debris from the surface of the water.
Step 2: Brush the Walls and Bottom
Once you’ve removed all debris from the surface of the water, it’s time to brush the walls and bottom of the pool to loosen any dirt or grime that may be clinging to the surfaces. Start at the bottom and work your way up to ensure that any dirt or debris that comes loose sinks to the bottom of the pool where it can be vacuumed up later.
Step 3: Vacuum the Pool
Now that you’ve brushed down all the surfaces in your pool, it’s time to vacuum up the dirt and debris that came loose. The best way to do this is with an automatic pool vacuum. Simply connect your vacuum hose to your skimmer box and turn on the power. The vacuum does all the work for you!
Read here if you want to learn more about how a pool vacuum works for above-ground pools.
Step 4: Clean the Skimmer Basket and Pump Basket
After you’ve vacuumed and brushed all the surfaces of the pool, it’s important to clean both the skimmer basket and the pump basket. These baskets collect debris as your filtration system does its job, so they can quickly become clogged if they’re not emptied regularly.
Step 5: Test the Water Chemistry
The final step in cleaning your pool is to test the water chemistry and add chemicals if necessary. This is important to ensure that your water is safe for swimming and to prevent algae growth. First, use a reliable test kit or strips to test for pH, chlorine, alkalinity, and calcium hardness levels. If any of these are too low or too high, adjust accordingly by adding chlorine tablets, acid or alkaline solutions, and so on. There are also other ways to keep the water healthy if you learn how to keep an above-ground pool clean without chemicals.
Once all levels are within normal range, add a shock treatment according to the instructions on the package to help kill any remaining bacteria or contaminants in the water. After waiting twenty-four hours, your pool is ready for swimming!
Enjoy Your Clean Pool
Cleaning a dirty above-ground pool doesn’t have to be a daunting task. By following these simple steps, you can have your pool sparkling clean in no time.
Just remember to vacuum thoroughly, brush down all surfaces, empty the baskets, test the water chemistry, add chemicals as needed, and shock once everything looks good. By following these simple steps, you can enjoy your clean pool all summer long.